So, to help cut down on my gardening expense I make newspaper seedling pots. I can get newspaper from family and friends or from the recycling center. They are all too happy to get rid of it, and I’m happy to recycle it. These frugal containers have become a big part of my gardening season. As a result, I thought I would show you how to make these pots. If you have children that can handle making the newspaper seedling pots, let them spend the afternoon making them for you. Making newspaper seedling pots is a great gardening with kids project.
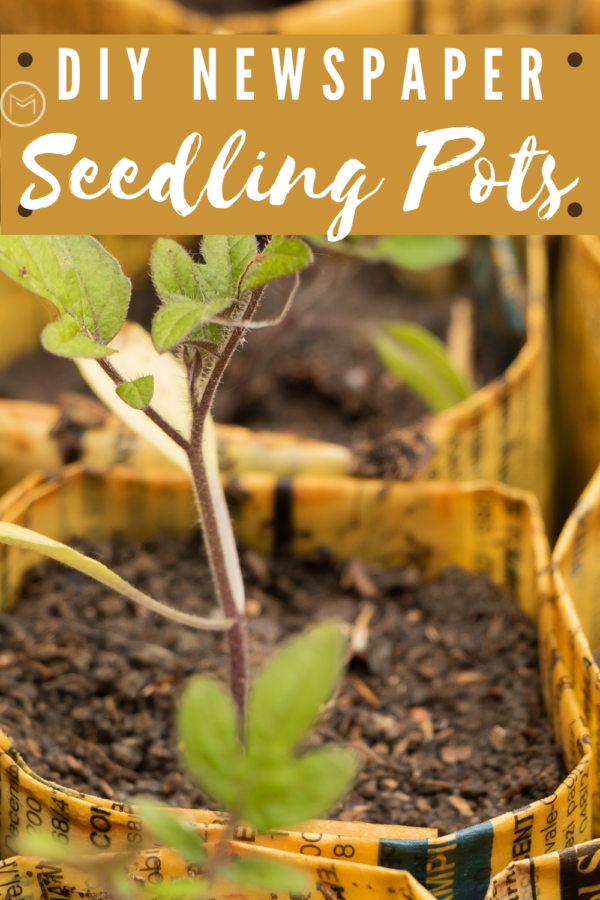
DIY Newspaper Seedling Pots:
What you will need:
- Newspaper –
- Pint jar or vegetable can
- Kraft Paper Tape
Easy Steps:
Step 1 – First, as shown in the picture below use 1 single sheet of newspaper folded in half. Do not use the glossy or colored sections of the newspaper. The ink is not environmentally friendly.
Step 2 – Second, fold the sheet of newspaper in half not length wise.
Step 3 – I used a pint size canning jar. Also, leave about a 1/4 inch of the mouth of the jar out of the newspaper as shown below.
Step 4 – Roll the jar until all of the newspaper is used. Make sure the newspaper is rolled tightly and evenly.
Step 5 – Next, tape the ends of the newspaper together. Kraft Paper Tape is biodegradable, so you can leave it on your pots when planting them directly in the garden or pot.

Step 6 – Additionally, turn the jar upside down. The opening of the jar should be face down, and why you should leave about 1/4 inch of the jar out of the newspaper.
Step 7 – Next, fold the bottom of the newspaper as if you’re wrapping Christmas gift. Tape the folds down with the Kraft Paper Tape.
Step 8 – Remove the jar from the newspaper.

Step 9 – Last, fold the top of the pot down about a 1/2 – 1 inch to make the pot smaller.

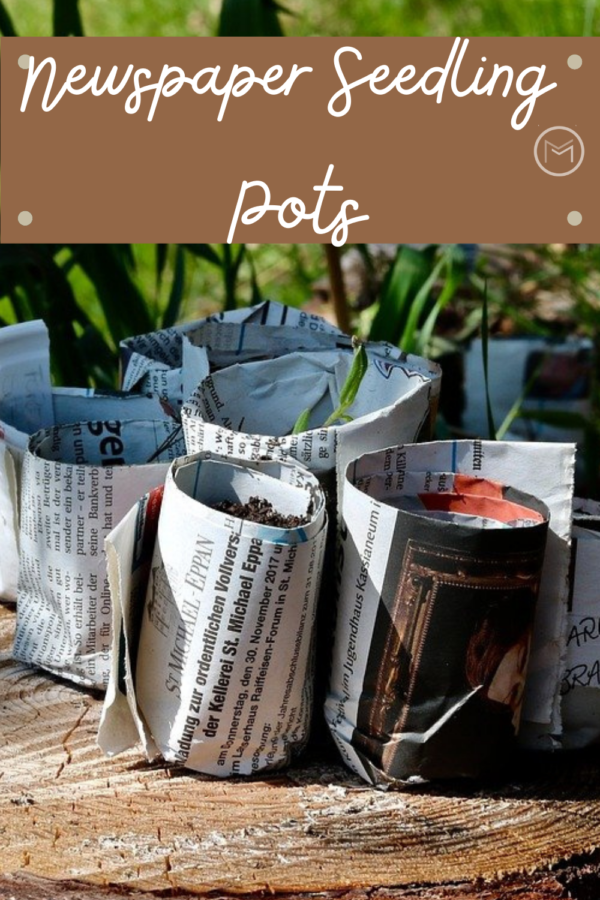
Fortunately, these seedling pots are ready to start your herbs, tomatoes, peppers, squash, zucchini, melons etc. Simply, fill the pot with seed starter mix (I use Miracle Gro), and you’re ready to plant your seeds according to the package.
Most importantly, when you start your seeds you will want to water from the bottom up so you won’t displace your seeds. What do I mean by watering from the bottom? Place your seedling pots in a tray. Pour water into the bottom of the tray, and allow your pots to soak up the water instead of watering the seedling from the top. Watering from the top can dislodge you seed. Also, add more water if necessary. You can use tin roasting pan from the dollar store, plastic storage containers, your oven roasting pan, and anything you can find to house your seedling pots.
Also, I recommend planting 2 or 3 seeds in your pot. You have better odds of germination using 2 or 3 seeds. Once the plant(s) has grown 2 – 3 inches, you can leave the strongest seedling and discard the other plants. It’s simple, just pinch off those you don’t want and discard them.


Great tutorial! Thanks for sharing on the (mis)Adventures Monday. I look forward to you sharing again!
This is a great post and if I was planning to do any real gardening this summer I would put Amara to work making pots! Actually, I have 2 giant plumeria seed pods that are slowly ripening. This just might work for starting them.
Thanks for the info on this! I just bought a pack of "cat grass" seed to plant with the grandkids. I didn't look for peat pots, but even if they are out yet it's too cold to run back to the store! I'll just make a few of these and follow your growing tips! Thanks!