Today, I’m going to share gardening tips on winter sowing vegetable seeds. Check out my other backyard vegetable gardening tips before you leave too. I have the winter blues! So, I decided to start my vegetable seeds for my spring and summer garden. Planning my garden takes the blues away and gives me a head start on growing strong, healthy veggie plants.
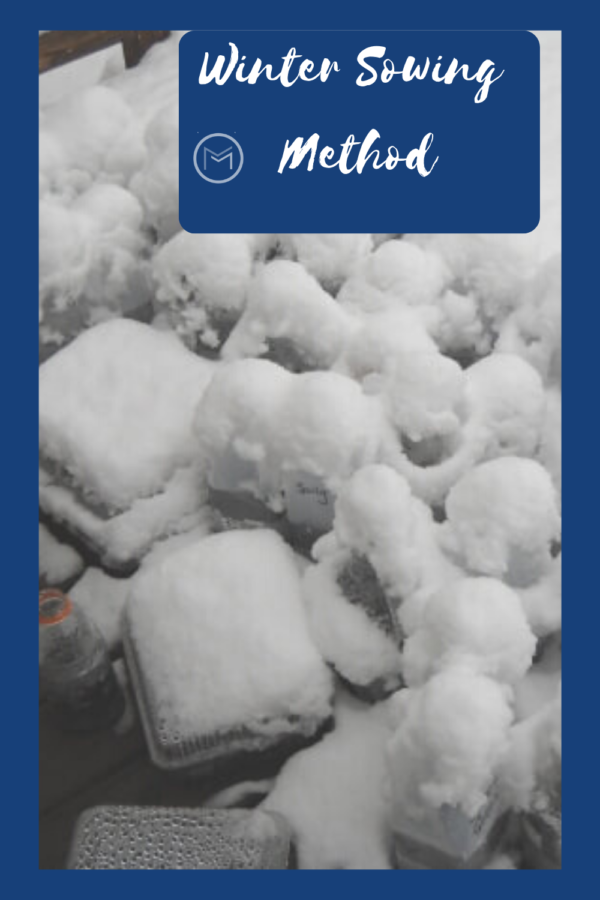
For the past several years, I have started my seedlings using heat mats and grow lights. I have about a 90% germination rate with what I sowed. However, it takes a lot of time and space to nurture the seedlings. Using the winter sowing method eliminates the heat mats, grow lights and chances of growing leggy vegetable seedlings. You simply place your containers in a location where they will get sunlight and rain water and let them go until spring.
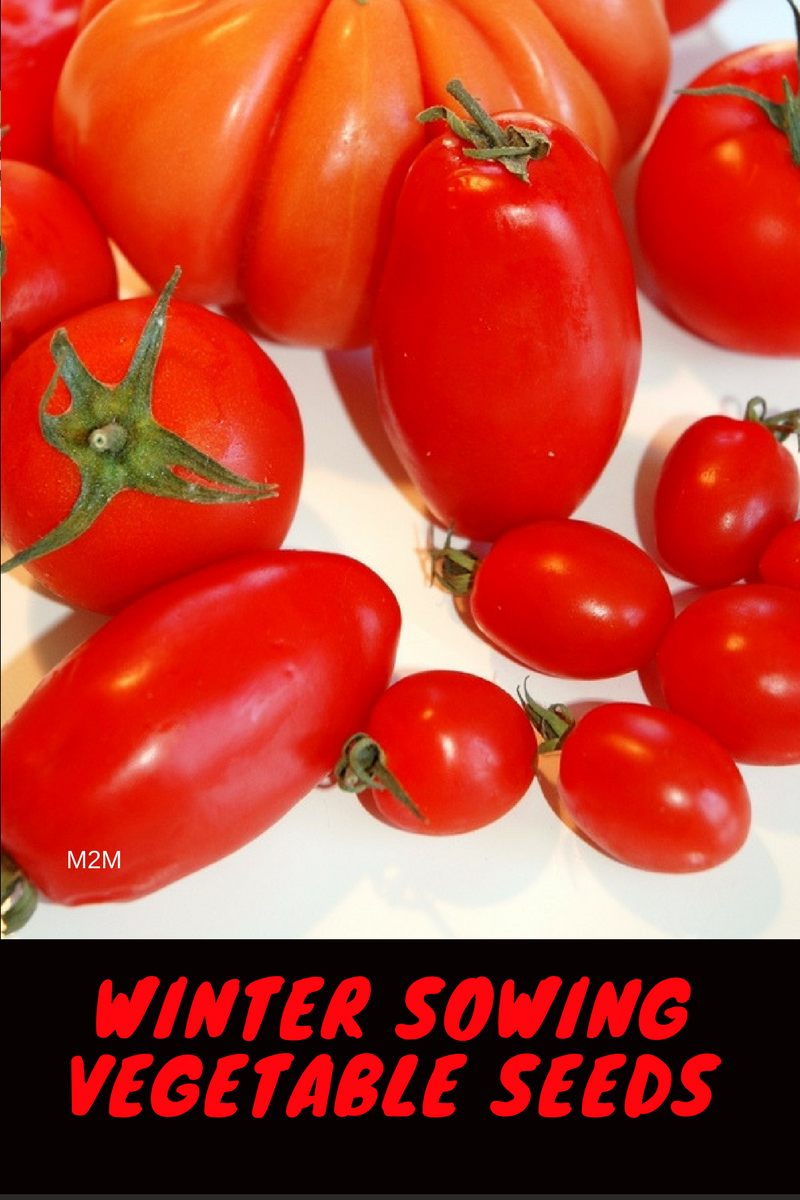
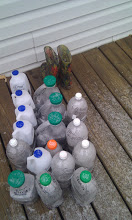
I decided to use the winter sowing method for the past few years. It’s much easier than setting up the mats and grow lights. As a result, I’ve been saving plastic liter bottles as well as juice and milk bottles. Anything that I can cut and punch holes in the bottom for drainage is fair game. I started about 20 bottles over the week-end. Tomatoes, dill, zucchini, squash, sunflowers and petunias. Yes, you can winter sow flowers too. I love that dill and petunias reseed for several years after planting.
I will sow a few tomatoes inside under grow lights, but I’m sold on the winter sowing method. And, it’s doubtful that I will ever return to to a full fledged indoor sowing setup again.
Winter Sowing Vegetable Seeds:
- Wash your bottles in hot soapy water and rinse well.
- Allow bottles to dry.
- Use a box cutter to cut around the bottles. Leave an inch on the bottle for a hinge.
- Add drainage holes in the bottom of your bottle. To accomplish this, I used a hot glue gun on the bottom of the milk bottles. However, I was unsuccessful using the glue gun on the liter and juice bottles. The glue gun wouldn’t penetrate. So, I used the box cutter to make slits on the bottom. You could also use a drill on the bottom. If you have another method of punching holes, bring out your equipment and punch holes in the bottom of your bottles.
Next prepare your seed starter mix:
- Mix your seed starting mix as directed on the package. I use warm water when mixing the soil. Mix it thoroughly. You want it wet; however, not soggy.
- Add 2 – 3 inches of the mix to the bottom of each of the bottles or container. I use Miracle Gro Seed Starting Mix. I have a great germination rate each year with the mix. I have also used Miracle Grow potting soil, and my seeds germinated as well.
- Plant your vegetable or flower seeds according to the directions on the package. Once you have the seed planted, wrap the bottle with duct tape. I purchased my duct tape from the Dollar Store.
- Mark the bottles with a permanent marker, which I also purchased from the Dollar Tree.
- You can discard the bottle tops. I moved the bottles and containers to my deck to ensure they get rain. Let them go until spring. At that time you should have sprouts that will need water. As they grow, you will have to remove the top of the bottles. Just remove the duct tape and remove the top. You can use a pair of scissors to cut the hinge on the bottle.
- You can place your bottles in trays for a little more organization, but it’s not necessary. My are placed randomly on my deck. Once I remove the tops, I organize them so I can tgrans
- Your seedlings will already be hardened off. Which is a step you will have to take if you start seedlings indoors.
Finally, if you are a gardener and use the winter sowing method, please share your experience. You may also like My Winter Sow Seed List.